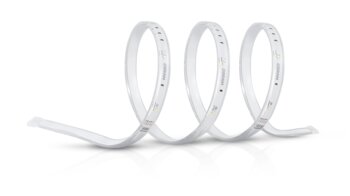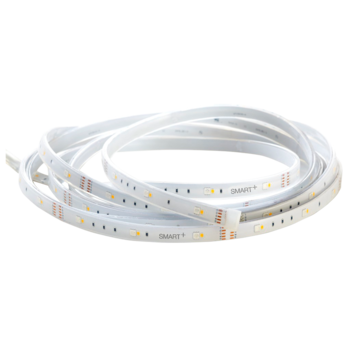


Make the most of the versatility of LED strips in creative lighting design. Because of its high efficiency and long lifespan, LED technology has rapidly increased in popularity compared to classic filament technology. Likewise, the diodes have great creative potential due to their compact size.
LED strips with consistent spacing between bulbs are suitable for a variety of lighting scenarios. In this article, you will learn how to install LED strips correctly and get to grips with some ideas for creative designs in offices, residential buildings, shops and underground garages.

Two-way adhesive tape on the back of an LED strip allows for easy installation on most smooth surfaces. The only limiting factor is the length: For 12V systems, the strip should not exceed eight metres, for a 24V system, twelve metres is the maximum length. For longer strips you must use a repeater. Pre-wired models are plug-and-go solutions which can be connected quickly.
1. Cutting or extending an LED strip
LED strips may be cut using scissors. Many manufacturers mark locations suitable for cutting on the surface with a scissors symbol or three dotted lines. To connect two separate LED strips, you may use quick-connectors such as the Slimconnect system from Osram. Just make sure that the strips share the same polarity.
2. Around corners
If the LED lights need to bend around a corner, use an elbow connector. Alternatively, some LED lights may be bent up to an angle of 60 degrees.
3. Connecting LED strips to a power supply
You must choose the correct power supply for your LED strip. They must share a common voltage, which is calculated as wattage per meter x length of the strip. A 3.8m, 12V LED strip with 5W/m power consumption must have a transformer with a capacity of at least 19W. Include a performance buffer of 20 percent. You must also bear in mind the correct polarity when connecting.

4. Optional: dimmer or controller
With single-color LED strips you can adjust the brightness steadily using an intermediate dimmer switch. To manually change colors with RGB strips, you must also connect an LED controller. The connector for RGB strips consists of four wires:
black or white wire for the positive connection to the positive pole of the controller
blue, red and green wires for the negative connection
insert the red cable into the terminal R, the green in G, and the blue in terminal B.
5. Power Connection
Now connect the controller to the power supply if necessary, to make a connection to the mains. While doing so, connect the brown or black outer conductor to terminal L, the blue neutral conductor to terminal N, and the yellow/green protective earth conductor to the terminal with the corresponding protective conductor symbol.
Note: before installing outdoors, make sure that the light housing is certified as IP66 to ensure the lights are adequately protected from wet or damp environments and the ingress of water. You can protect the connection point of two LED strips with a shrink tube.

LED strips use consistent lighting to achieve a pleasant ambience in corridors and rooms, on floors or walls. Immerse yourself in creative ideas.
Using LEDs on the wall or ceiling for indirect light
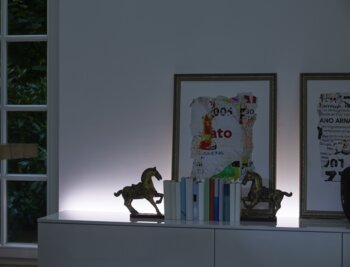
Warm-white LED lights are perfect for settings calling for indirect light. You may choose to install the LED strips in a suspended ceiling in order to create art on the wall or highlight products in a shop.
LED strips in the kitchen
A work area in a kitchen should be well lit. In a kitchen with wall cabinets, you can attach LEDs on the underside to illuminate counter tops, the sink and stove with soft light.
LED lights for added security on the stairs and in underground car parks
Use LED lights to illuminate staircases or parking spaces using a proximity sensor. The light will automatically turn on when someone approaches.
Escape routes in residential buildings
Mark escape routes by laying LED strips on the ground and connecting them to an emergency power supply. In an emergency, they will direct residents to safety.